1.60 introduced PlatinumQuest's path node system, which allows for moving, rotating, and scaling entities as you play. In this post, I will show you how to use this system in your own levels.
So, let's say you'd like this gem to move around in a circle. This red ring will demonstrate where we want the gem to travel.
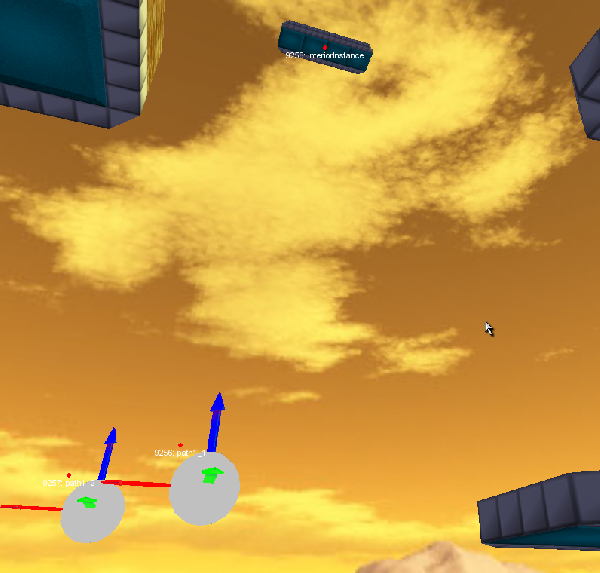
First, push F4 to open the World Editor Creator. Open this file tree and add four PathNodes to your level. For the sake of this tutorial, the nodes will be named "path1", "path2", etc. Note that the path nodes are slightly sunken into the ground -- this is because objects will travel slightly above the center of the grey blob, not through the center of the node as a whole. Be careful!
Now comes the tricky part. Push F3 with "path1" selected to bring up the World Editor Inspector. You'll notice a lot of dynamic fields. Here's what you should enter for all of these variables in this case. Any field not listed can be ignored.
TimeToNext: Any number you want, but I will be setting it to 1000ms for the case of this tutorial.
UsePosition: 1
UseRotation: 0
UseScale: 0
NextNode: Name of the next path node in the loop. So, for path1, enter "path2". For path2, enter "path3" etc. The last node (path4 in this case) should have this set to the first node (path1).
If all your nodes look something like this, you're good to go. Now, we actually want the gem to move on this path. Simply add a dynamic field to your gem with the name "path". The value should be one of the path nodes, preferably the first one in the chain. Restart your level... and viola! It's a bit difficult to show off in a picture, but the gem should now be moving on the path!
Rotating entities are arguably simpler to create than moving entities. Let's say that you want a trapdoor to constantly rotate on the Z axis for some reason.
First, place the trapdoor and three path nodes in your level. Name the path nodes "rotate1", "rotate2", and "rotate3". The nodes can be placed anywhere you like, they don't need to be in the same location as the trapdoor. Rotate "rotate2" 180 degrees on the Z axis. It should look something like this. Here's what you should enter for all of these variables in this case. Any field not listed can be ignored.
TimeToNext: Any number you want, but I will be setting it to 1000ms for the case of this tutorial. However, the last node's TImeToNext should be 1ms to keep the movement smoother.
UsePosition: 0
UseRotation: 1
UseScale: 0
NextNode: Name of the next path node in the loop. So, for rotate1, enter "rotate2". For rotate2, enter "rotate3" etc. The last node (rotate3 in this case) should have this set to the first node (rotate1).
Just like the gem, add the dynamic field "path" to the trapdoor with the value being the first node in the chain. Your trapdoor is now rotating like crazy. Unfortunately, rotating entities' collision is generally very buggy. Use at your own risk!
Finally, you can use nodes to scale objects on the fly. We're going to make a Jump Boost grow and shrink back to normal size over and over again, so place a Jump Boost and three path nodes. Name the nodes "scale1", "scale2", and "scale3". Set the scale of scale2 to 2, 2, 2. It should look like this. Hopefully you know what to do here by now, but just in case, here's what you set the values of each node.
TimeToNext: Any number you want, but I will be setting it to 1000ms for the case of this tutorial. However, the last node's TImeToNext should be 1ms to keep the movement smoother.
UsePosition: 0
UseRotation: 0
UseScale: 1
NextNode: Name of the next path node in the loop. So, for scale1, enter "scale2". For scale2, enter "scale3" etc. The last node (scale3 in this case) should have this set to the first node (scale1).
Add the "path" field to the Jump Boost with the value of the first node in the chain... ...and boom! It's growing and shrinking. Be aware that scaling objects like this is very buggy, too, as sometimes, only the collision scales, and not the DTS model.
I hope you have found this guide useful.
In case you'd like to check it out for yourself, here's a download link for the .mis file used in this tutorial: bit.ly/1M4pt4t
If you have questions or are confused, just ask me and I'll try my best to help you out.
Follow me on twitter at @threefolder


